Calibrating Your Monitor for Photo Editing: Practical Guide
Learn how to calibrate your monitor for accurate photo editing. A step-by-step guide covering hardware, software, and best practices.
Introduction
Monitor calibration is essential for accurate photo editing. Without a calibrated monitor, you cannot trust the colors you see, which can lead to poor editing decisions. This practical guide covers everything you need to know about monitor calibration.
Why Calibration Matters
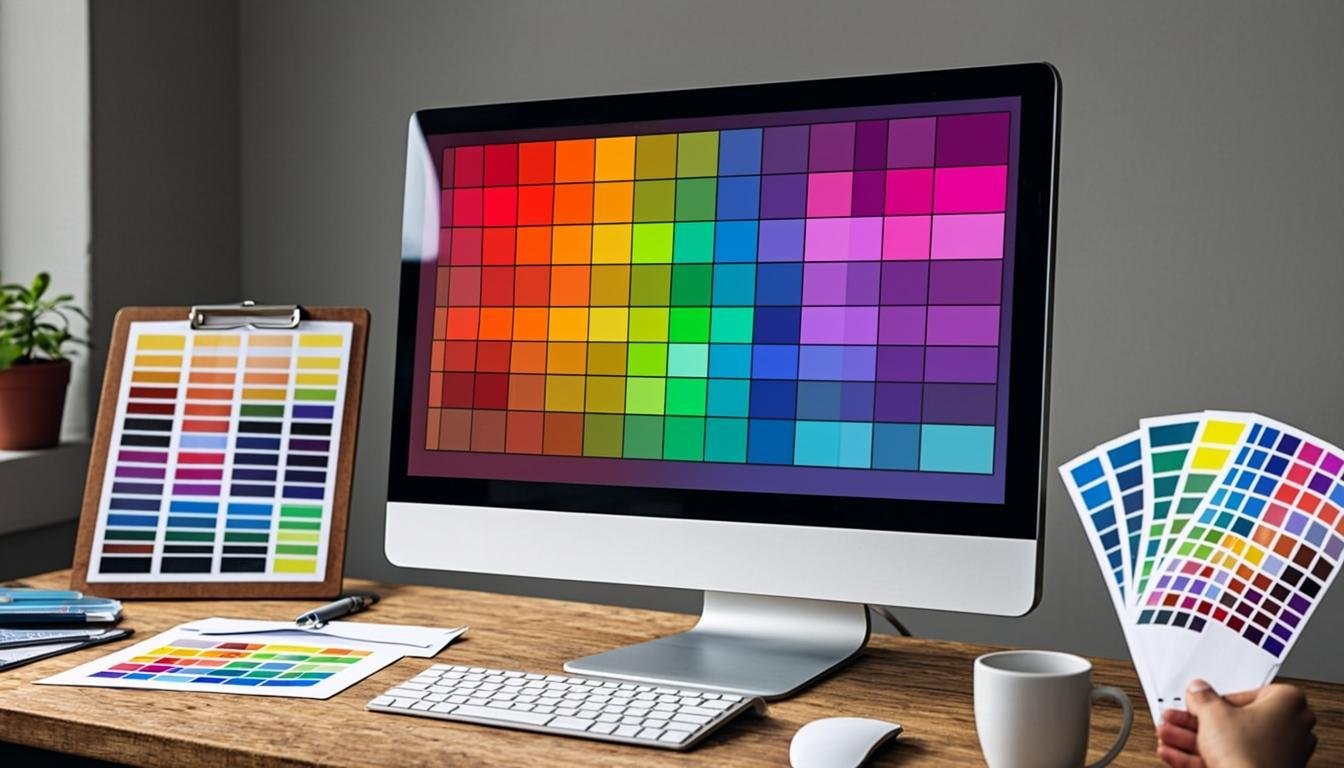
An uncalibrated monitor displays colors inaccurately. This means your editing adjustments may look correct on your screen but wrong everywhere else. Calibration ensures your monitor displays colors as accurately as possible.
The Problem with Uncalibrated Monitors
- Colors appear different from what they actually are
- Brightness and contrast may be incorrect
- Color temperature may be too warm or too cool
- Different monitors show the same image differently
Hardware Calibration Tools
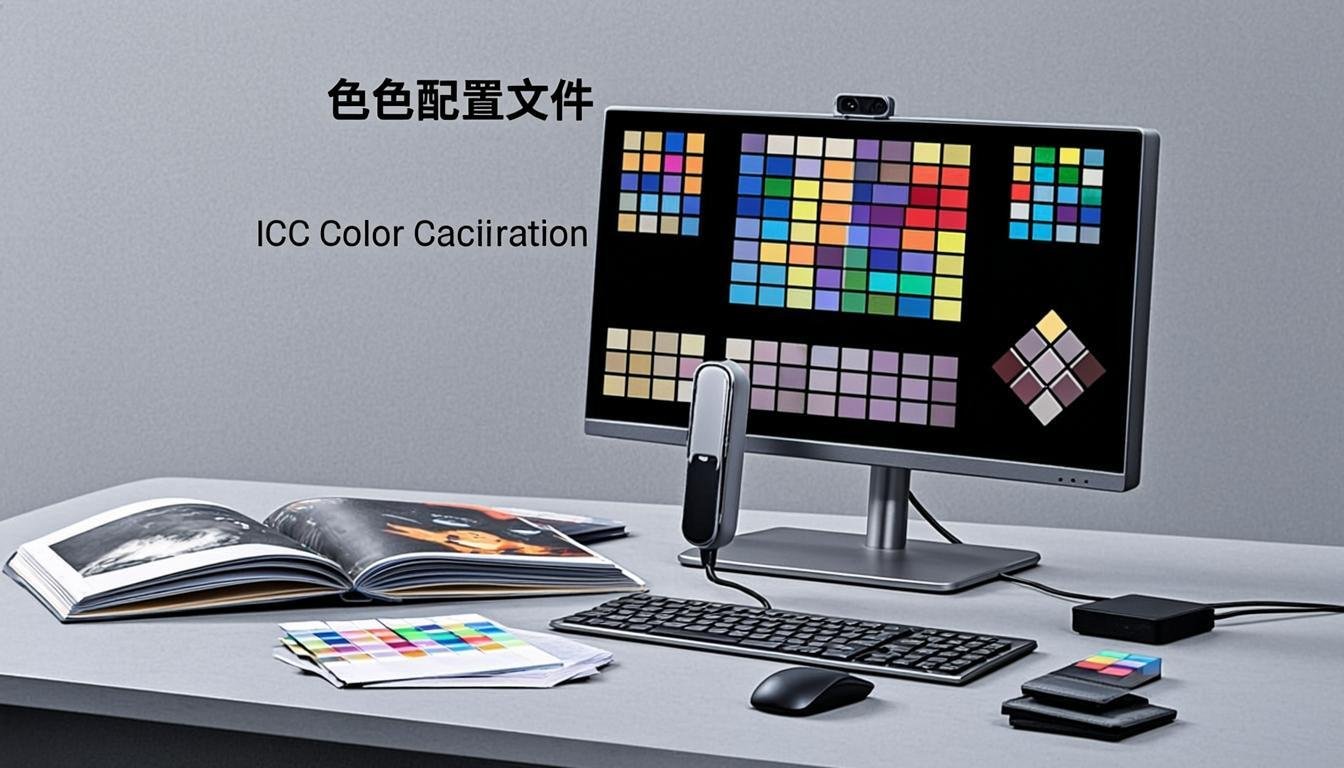
Hardware calibration is the most accurate method. It uses a colorimeter or spectrophotometer to measure your monitor's actual output.
Colorimeters
Colorimeters are affordable devices ($100-$300) that measure color and brightness. Popular options include the X-Rite ColorMunki and Datacolor Spyder. They are suitable for most photographers.
Spectrophotometers
Spectrophotometers are more precise (and more expensive, $500+) instruments. They are typically used by professionals who need the highest accuracy.
Software Calibration
Software calibration is a free alternative that uses your computer's built-in tools.
Built-in Tools
- macOS: System Preferences > Displays > Color > Calibrate
- Windows: Display Color Calibration wizard
- These tools guide you through adjusting brightness, contrast, and color balance
Third-Party Software
Software like DisplayCAL (free) provides more advanced calibration options. It works with colorimeters for better results.
Step-by-Step Calibration Process
- Warm up your monitor: Let it run for 30 minutes before calibration
- Set room lighting: Calibrate in the lighting conditions you normally work in
- Reset monitor to factory settings: Start from a clean state
- Run calibration software: Follow the guided process
- Verify results: Check the calibration profile with test images
- Re-calibrate regularly: Every 4-6 weeks for consistent results
Best Practices for Color-Accurate Editing
- Work in a controlled lighting environment
- Use a neutral gray background for your desktop
- Avoid wearing brightly colored clothing that can reflect on the screen
- Take breaks — your eyes adapt to colors over time
Integrating Calibration with Your Workflow
After calibration, your editing workflow becomes more reliable. Tools like AllCombiner respect ICC profiles, ensuring consistent color across your creative pipeline. Explore pricing options for professional tools.
Conclusion
Monitor calibration is a critical step for any serious photographer. Whether you use hardware or software calibration, the investment in time and equipment pays off through more accurate, consistent editing results.
Related articles