Presets and Workflows: Revolutionize Your Photo Editing
Discover how photo editing presets and workflows can optimize your workflow and save valuable time through automation and batch processing.

Introduction
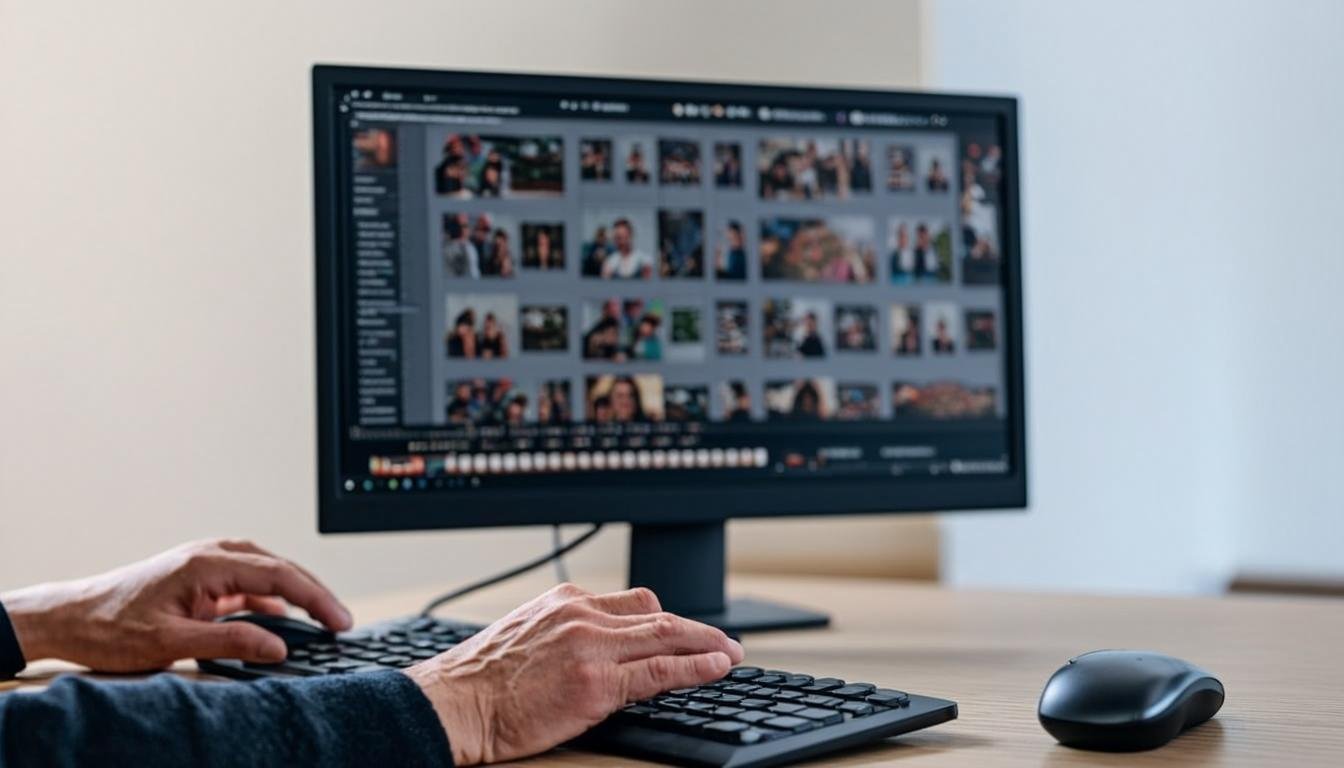
In the competitive world of professional photography, where every minute counts, optimizing the photo editing workflow is no longer an option but a necessity. Photographers are constantly looking for ways to reduce the time spent at the computer while maintaining impeccable image quality. This is where editing presets and workflows come into play, radically transforming our approach to post-processing.
These powerful tools, combined with automation and batch processing, allow for processing hundreds of photos in record time, thereby freeing up the photographer to focus on what they do best: capturing memorable images. In this article, we will explore in detail how to master presets and workflows to optimize your photo editing process.
What is a photo editing preset?
A photo editing preset is essentially a save of a set of adjustments applied to an image. It can include changes to white balance, exposure, contrast, saturation, curves, filters, and many other parameters depending on the software used.
Presets are particularly useful for photographers who need to process a large number of photos with a consistent style, such as wedding, portrait, or travel photographers. Instead of manually applying the same adjustments to each image, the photographer can simply apply a preset to instantly achieve the desired effect.
The advantages of presets
-
Visual Consistency: Presets ensure that all your photos share the same style and atmosphere, thereby strengthening your brand's identity.
-
Significant Time Savings: Applying a preset to a photo takes a few seconds, whereas manually recreating the same adjustments can take several minutes per image.
-
Accelerated Learning: For beginners in photo editing, presets are an excellent learning tool. By examining the settings of a well-designed preset, one can better understand how different adjustments interact to create a specific effect.
-
Workflow Standardization: Presets allow for establishing a consistent and reproducible editing process, which is essential for photographers working in teams.
How to create effective presets
Creating your own presets rather than using existing ones allows you to achieve a truly unique style that is perfectly tailored to your artistic vision. Here's how to proceed:
1. Start with a reference image
Choose a photo that well represents the style you want to achieve. Manually apply all the necessary adjustments to reach the desired effect. Take the time to fine-tune every detail until you are fully satisfied with the image.
2. Save your preset
Once you're satisfied with the result, save your adjustments as a preset. Most photo editing software, such as Lightroom or Capture One, offers this feature. Give your preset a clear and memorable descriptive name, and organize them by categories if necessary.
3. Test and adjust
Apply your preset to other photos from the same session to see how it behaves in different lighting and scene conditions. You may find that some adjustments need minor modifications to adapt to all images. Feel free to refine your preset based on these tests.
4. Export and share
Some software allows you to export your presets to share with other photographers or to use on different devices. This is an excellent way to collaborate or to create products to sell.
The photo workflow: optimize your editing process
An efficient photo workflow is not limited to using presets. It is a structured system that incorporates various steps and tools to process photos in a consistent and efficient manner. Here are the key elements of an optimized photo workflow:
1. Import and organization
The first step is to import your photos into your photo management and editing software. Organize them immediately into appropriate folders, using a consistent naming system. This preliminary organization will save valuable time later.
2. Quick selection and sorting
After a photoshoot, you may return with hundreds, or even thousands, of images. The first step in post-processing is to quickly eliminate blurry, poorly composed, or technically flawed photos. Most software offers comparison and quick navigation tools to facilitate this process.
3. Applying presets
Once the photos are selected, apply the appropriate presets according to the desired style. This is where the real time savings begin. With presets, you can radically transform the appearance of your photos in just a few clicks.
4. Individual adjustments
While presets are powerful, some photos will require individual adjustments to perfect the result. These adjustments should be minimal and targeted, aiming to correct specific issues rather than completely rebuilding the image from scratch.
5. Export and backup
The final step is to export your photos in the appropriate format and resolution for their final destination (web, print, etc.). Be sure to save your original files and your edited versions in an organized manner for future reference.
Batch processing: efficiently process large series
Batch processing, or batch treatment, is an essential feature for photographers who need to process a large number of photos. This technique allows you to apply the same adjustments or presets to multiple images simultaneously.
How to use batch processing
- Select all the photos to which you want to apply the same adjustments.
- Apply the desired changes to one of the images (using a preset or manual adjustments).
- In the menu, choose the option to copy the settings.
- Paste these settings onto all the selected images.
Most modern photo editing software, such as Lightroom, Capture One, or DxO PhotoLab, natively integrates advanced batch processing features. These tools not only allow you to apply presets in bulk but also to perform specific adjustments such as lens correction or vignetting for each individual photo.
The advantages of batch processing
- Exponential time savings: Processing hundreds of images in minutes rather than hours.
- Guaranteed consistency: Eliminates human variations that could occur during manual processing.
- Reduced fatigue: Decreases eye strain and repetitive movements, a source of chronic pain for many photographers.
Photo editing automation: the future of post-production
The automation of photo editing represents the ultimate step in workflow optimization. Thanks to artificial intelligence and machine learning, modern tools can now perform complex corrections without human intervention.
Advanced automation tools
Software like AllCombiner uses AI to analyze photos and apply automatic corrections tailored to each image. These tools can detect and correct common issues such as red-eye, digital noise, lens distortion, and many more.
Automation can also be used for more creative tasks, such as applying artistic styles or optimizing colors based on the subject or scene lighting.
Integrating automation into your workflow
To effectively integrate automation into your photo workflow:
-
Identify repetitive tasks: Determine which aspects of your editing process are the most time-consuming and repetitive.
-
Choose the right tools: Research and test different automation software to find the ones that meet your specific needs.
-
Combine automation with manual control: Automation is powerful, but it doesn't always replace artistic judgment. Use it for technical tasks, but retain creative control for final adjustments.
-
Continuously refine: Like any workflow, automation needs to be evaluated and refined regularly to adapt to your evolution as an artist.
Case studies: workflows for different types of photography
Wedding photography
Wedding photographers often have to process hundreds of photos in a very short time. An effective workflow could include:
- Fast memory card import
- Sorting photos by key moments (ceremony, reception, portraits)
- Applying specific presets for each moment
- Individual adjustments for group photos and portraits
- Batch processing for exporting different versions (web, album, print)
Landscape photography
For landscape photographers, where color and light accuracy are paramount:
- Importing and organizing by location and weather conditions
- Applying base presets to correct exposure and white balance
- Using advanced tools for sky and detail processing
- Batch processing to apply the same technical settings to similar photo series
- Exporting with different profiles depending on the final use
Fashion photography
Fashion photography requires a very specific style and absolute consistency:
- Importing and organizing by session and model
- Applying style presets to achieve the desired atmosphere
- Precise color and contrast adjustments to highlight clothing
- Subtle beauty retouching for each portrait
- Batch processing for exporting different versions (social media, website, magazine)
Common mistakes to avoid
1. Overloading presets
It's tempting to create very complex presets that apply many adjustments at once. However, this makes the preset less flexible and harder to adjust. Prefer to create several simple, complementary presets rather than one overloaded preset.
2. Not testing presets
A preset that works perfectly for one photo can give disappointing results on another. Always test your presets on different images to ensure they behave as expected in various conditions.
3. Forgetting to back up
When working with batch processing, it's crucial to save your original files. An error in a preset applied to a large number of photos could be catastrophic if you don't have a backup.
4. Neglecting to learn the basics
Presets are powerful tools, but they don't replace a fundamental understanding of photography and editing. Continue to learn basic techniques so you can create and adjust presets intelligently.
Recommended tools and software
Lightroom Classic
Adobe Lightroom remains the preferred choice for many photographers due to its robust library management and advanced retouching and batch processing features. Its library of presets is one of the most comprehensive on the market.
Capture One
Capture One is particularly appreciated for its color rendering quality and speed, especially for photographers using specific camera systems. Its workflow system is highly efficient for professional photoshoots.
DxO PhotoLab
DxO PhotoLab excels in automatic optical correction, using data specific to each camera and lens combination. Its Nik Collection presets offer unlimited creativity.
AllCombiner
For advanced automation, AllCombiner uses artificial intelligence to intelligently analyze and process your photos. Its image fusion technology allows for professional results in record time.
Conclusion
Mastering photo editing presets and workflows is essential for any photographer looking to optimize their time and energy. By combining the strategic use of presets, batch processing, and automation, you can transform your post-processing workflow, freeing up time to focus on creation and the development of your art.
The future of photo editing lies in the harmonious integration between human expertise and the power of AI. Tools like AllCombiner represent the vanguard of this revolution, offering automation solutions that respect the photographer's artistic vision while significantly increasing efficiency.
Whether you're a passionate professional photographer or a beginner looking to streamline your workflow, investing in learning about presets and optimized workflows is one of the most valuable you can make. Explore our Pricing today to discover how AllCombiner can transform your approach to photo editing and allow you to devote more time to what truly matters: capturing unforgettable moments.
Related articles