Sharpening: when and how to enhance an image
Discover sharpening and photo enhancement to improve the sharpness of your images with the unsharp mask tool.
Introduction
In the world of photography, the sharpness of an image is often a determining criterion for its quality. Sharpening, or photo enhancement, is an essential technique that every photographer must master to sublimate their photographs. Whether to correct the slight blurs inherent to the sensor or to add more pep to your photos, understanding when and how to apply this technique can make all the difference. In this article, we will explore in detail the concept of sharpening, its different methods, and how to effectively integrate it into your photo editing workflow.
What is Sharpening?
Sharpening, or enhancement in French, is an image processing process aimed at improving the sharpness and clarity of details. Contrary to what one might think, this technique does not actually add details to the image, but rather it accentuates the transitions between light and dark areas to create the illusion of a sharper image.
In the field of digital photography, sharpening is a crucial step in post-processing. Camera sensors, even the most high-performance ones, tend to slightly soften images due to their anti-aliasing nature (to avoid aliasing). Furthermore, JPEG file compression and other factors can contribute to a loss of apparent sharpness.
Sharpening allows you to compensate for these imperfections and restore to your images the precision you captured with your lens. It is a particularly important step for images intended for large-format printing or a close-up view on screen.
The Different Types of Sharpening
There are several methods for applying sharpening to an image, each with its own advantages and disadvantages. Here are the main techniques you can use:
1. Unsharp Mask (USM)
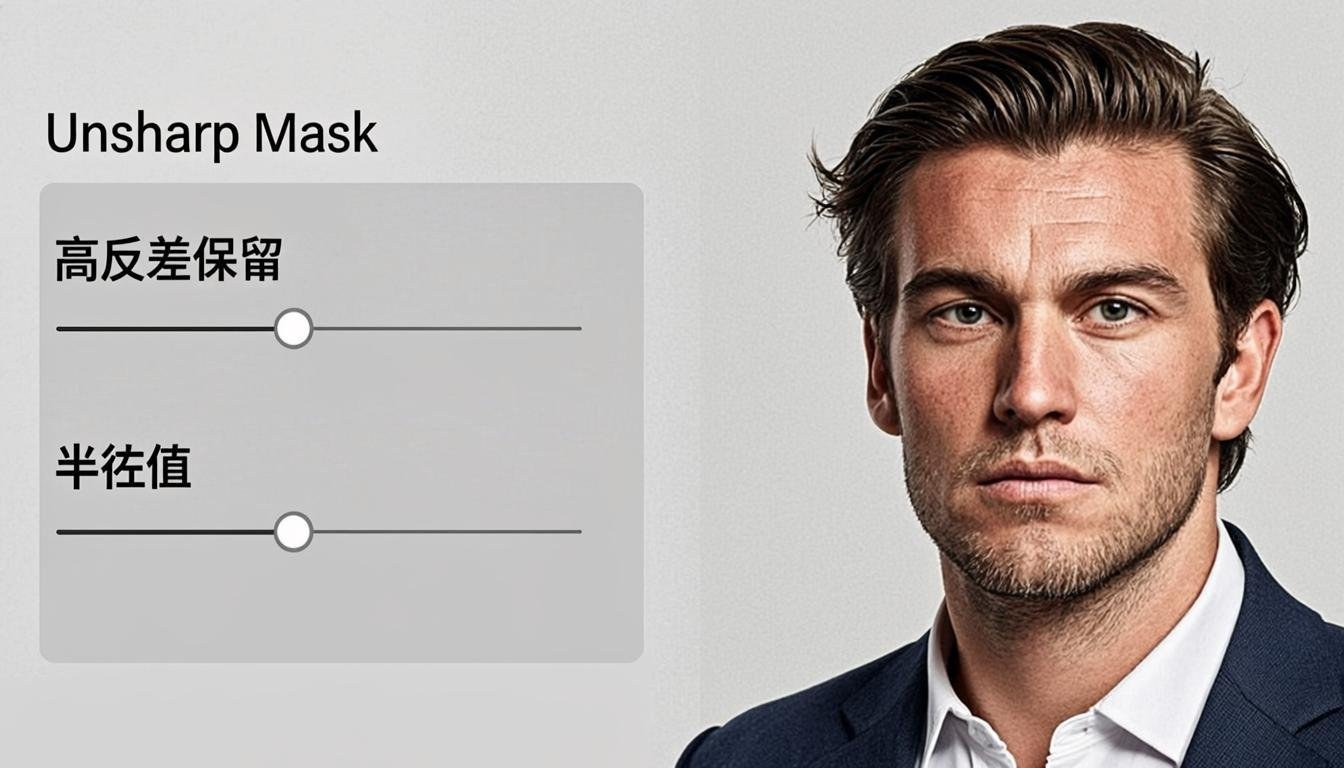
The Unsharp Mask (USM) is the most common and well-known sharpening method. Contrary to its name suggests, this technique does not mask anything, but rather it accentuates edges by detecting them in the image.
The principle of USM is based on three main parameters:
- Radius: Defines the size of the area around the edges to be affected. A larger radius affects a wider area, which can create a halo effect.
- Amount: Controls the intensity of the enhancement. Higher values create more pronounced edges.
- Threshold: Determines the minimum brightness difference between two pixels for them to be considered an edge. A higher threshold avoids enhancing uniform color areas.
USM is particularly effective for images that require a slight boost in sharpness, but it can quickly become too aggressive if the parameters are not set correctly.
2. High Pass Sharpening
High Pass Sharpening is an advanced technique that uses a high-pass filter to isolate image details. This method offers finer control than USM and helps avoid unsightly halos.
The process involves:
- Creating a copy of the original layer
- Applying a high-pass filter to this layer (with an appropriate radius)
- Changing the layer's blend mode to "Overlay" or "Soft Light"
- Adjusting the opacity to control the sharpening intensity
This technique is ideal for images that require a more subtle and controlled enhancement.
3. Smart Sharpen
Smart Sharpen is a more advanced feature found in software like Adobe Photoshop. This method offers more precise control than traditional USM by allowing you to separately process edges and details based on their type (shadows, midtones, highlights).
Smart Sharpen is particularly useful for images with high-contrast areas where traditional USM might create unwanted halos.
4. Focus Magic
Focus Magic is specialized software for deblurring and sharpening. Using advanced algorithms based on deconvolution, it can recover some of the details lost in a blurry image.
Although very powerful, Focus Magic is less common in standard photographer workflows, but remains an interesting option for specific deblurring cases.
When to apply sharpening?
Timing is crucial when it comes to applying sharpening. Here are the main moments when this technique can be beneficial:
1. In post-production
Sharpening is typically one of the final steps in the post-production process, applied after all other corrections such as color adjustment, cropping, and defect removal.
Applying sharpening last helps avoid amplifying defects present in the image, such as noise or compression artifacts.
2. For the web
Images intended for the web often benefit from slight sharpening to appear sharper on high-resolution screens. However, it's important to find a balance, as excessive sharpening can make images look artificial and create unsightly halos.
3. For printing
Images intended for printing generally require more aggressive sharpening than those meant for screen display, as the printing process tends to slightly soften details. The type of paper used also plays a role: smooth papers require less sharpening than textured papers.
4. To compensate for motion blur
In some cases, sharpening can help recover some of the sharpness lost due to slight motion blur. However, it is important to note that sharpening cannot correct significant blur, and in these cases, other techniques such as deblurring based on deconvolution might be more appropriate.
How to apply sharpening: step by step
Applying sharpening effectively requires a methodical approach. Here is a step-by-step guide to achieve the best results:
1. Work on a copy
Before applying sharpening, make sure to work on a copy of your original image or use non-destructive layers. This will allow you to go back if necessary.
2. Zoom to 100%
To properly evaluate the effect of sharpening, zoom to 100% on the most important details of the image. It is at this level that you can accurately judge whether the sharpening is too aggressive or insufficient.
3. Start with subtle adjustments
Always start with subtle adjustments, especially with USM. Typical values could be:
- Radius: 0.5 to 2.0 pixels (depends on the image resolution)
- Amount: 50 to 150%
- Threshold: 0 to 10
4. Focus on the details
Apply sharpening mainly to areas rich in details, such as eyes, hair, clothing textures, etc. Avoid enhancing smooth areas like the sky or skin.
5. Use layer masks
For finer control, use layer masks to apply sharpening only to specific areas of the image that would benefit most from a regain of sharpness.
6. Evaluate at different distances
After applying sharpening, evaluate the effect from different distances and on different devices. What looks perfect at 100% on your screen might appear too aggressive when printed.
Common mistakes to avoid
Despite its apparent simplicity, sharpening has several pitfalls that beginners tend to make:
1. Over-sharpening
The most common mistake is to apply too much sharpening, which creates halos around edges and an artificial appearance. An overly sharpened image loses its naturalness and can quickly become tiring to look at.
2. Ignoring the threshold
Not adjusting the threshold can lead to enhancing uniform color areas, creating an undesirable grainy texture in smooth areas like the sky or skin.
3. Applying sharpening too early
Applying sharpening before other post-production steps can amplify defects like digital noise or compression artifacts. Always apply sharpening last.
4. Use the same settings for all images
Each image is unique and requires sharpening settings adapted to its content, resolution, and final use. The settings that work for a portrait may not be suitable for a landscape.
5. Ignore the final medium
Sharpening settings must be adapted to the final medium of the image. An image intended for large-format printing will require different processing than an image intended for web publication.
Sharpening and AI: a new era of sharpness
Artificial Intelligence (AI) is revolutionizing many aspects of photography, and sharpening is no exception. Modern AI algorithms can now analyze the content of an image and apply intelligent sharpening that preserves naturalness while subtly enhancing details.
AI-based tools can:
- Automatically distinguish important edges from minor details
- Avoid creating unsightly halos
- Adapt sharpening based on the type of content (skin, hair, texture, etc.)
- Provide more natural results than traditional methods
Software like Topaz Gigapixel AI or Adobe Photoshop now uses these technologies to offer impressive sharpening results that were impossible to achieve with traditional methods.
Conclusion
Sharpening is a powerful technique for improving the sharpness of your images, but it requires a delicate approach and good judgment. By understanding when and how to apply photo sharpening, you can enhance your photos without creating artificial effects.
Whether you use classic USM, High Pass Sharpening, or AI-based technologies, the key lies in subtlety and adaptation to each image. By mastering these techniques, you will be able to present sharp, detailed, and professional photos.
To explore the possibilities of photo editing further and discover advanced tools to enhance your images, visit AllCombiner to discover our image blending platform and explore our Pricing to find the solution that best suits your needs.
Related articles