Photographing in Natural Light: Mastering the Golden Hour
Discover how to master natural light and the golden hour for exceptional outdoor photography. Practical tips to enhance your shots.
Introduction
Natural light is one of the most powerful tools for a photographer. Among all lighting conditions, the golden hour - that magical period just after sunrise or before sunset - offers unique creative possibilities. In this article, we'll explore how to best make use of this natural light to create memorable outdoor photographs that your clients will love.
What is the golden hour?
The golden hour, or heure dorée, refers to the time of day when the sun is low on the horizon, creating soft and warm light. Generally, this phenomenon occurs:
- Just after sunrise (about 30 to 45 minutes)
- Just before sunset (about 30 to 45 minutes)
During these times, light passes through a greater thickness of atmosphere, reducing its intensity and making it softer. The light is also filtered, giving your images warm and golden tones.
Why is natural light during the golden hour so special?
Natural light during the golden hour has several unique characteristics:
- Reduced intensity: The sun isn't directly visible, creating soft light without harsh shadows.
- Warm color temperature: The light takes on golden, orange, and red tones, adding a warm ambiance to your photos.
- Directionality: The light comes from a low angle, creating long, dramatic shadows that can add dimension to your images.
- Diffusion quality: The light is filtered by the atmosphere, making it more even and soft.
How to plan a golden hour photoshoot
To make the best use of golden hour natural light, meticulous planning is essential:
1. Use planning apps
Apps like Sun Surveyor or PhotoPills can help you determine the exact sunrise and sunset times as well as the light trajectory at a given location.
2. Recognize the signs
Before the golden hour begins, you'll notice a "blue hour" where the sky takes on deep blue tones. This period can also be excellent for photography, offering a different but equally beautiful ambiance.
3. Choose the right locations
Scout out the locations where you want to photograph in advance. Think about how the light will interact with your subject - a landscape, portrait, architecture, or busy street.
Natural light photography techniques
When photographing in natural light during the golden hour, several techniques can help you maximize the potential of this unique light:
1. Exploit long shadows
The low light of the golden hour creates long, dramatic shadows. Use these shadows to add dimension and interest to your compositions.
2. Creative backlighting
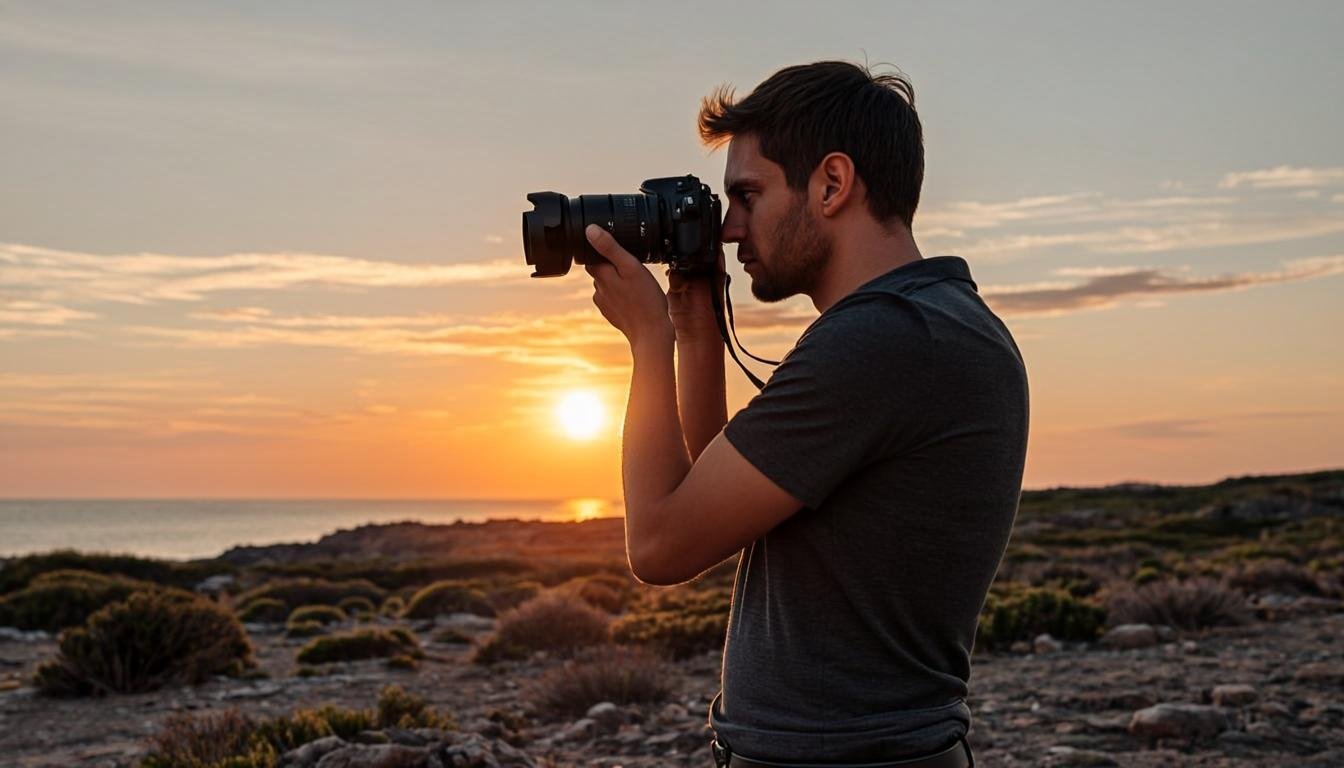
Position your subject between you and the sun to create brilliant silhouettes or light effects that surround your subject (known as rim lighting).
3. Use reflection
Reflective surfaces like water, glass, or even wet leaves can capture and amplify the golden light of the golden hour, creating spectacular effects.
4. Experiment with perspectives
Try different angles and perspectives to see how the light interacts with your subject. Sometimes, getting lower or higher can completely transform a shot.
Managing natural light challenges
Despite its many advantages, photographing in natural light presents certain challenges:
1. Limited time
The golden hour only lasts 30 to 45 minutes, so being prepared is crucial. Have your equipment ready and know your location in advance.
2. High contrast
Even with soft light, the contrast between bright and dark areas can be significant. Learn to use exposure compensation or bracketing to capture all the details.
3. Variable conditions
The weather can change quickly. Have several options based on weather conditions - a partly cloudy sky can even add interest to your images.
Post-processing golden hour photos
Post-processing is essential to maximize the impact of natural light captured during the golden hour:
1. Enhance warm tones
Slightly boost the golden and orange tones to emphasize the magic of the natural light during this period.
2. Manage highlights
Be careful not to blow out the highlights while maintaining detail in the shadowed areas.
3. Balance colors
Ensure the colors are true to the ambiance you want to convey while maintaining a natural appearance.
To merge multiple shots and create more complex compositions, you can use tools like AllCombiner, which offers advanced features to combine your images creatively.
Creative applications of the golden hour
Natural light during the golden hour can be used in many photographic genres:
1. Landscape photography
It's ideal for capturing landscapes with soft light that highlights the texture and form of natural elements.
2. Portrait photography
The soft, warm light is perfect for portraits, creating soft skin and flattering shadows.
3. Street photography
Golden light can transform an ordinary street into a cinematic scene, adding a warm and dramatic ambiance.
4. Architecture photography
Long shadows and soft light can highlight the texture and form of buildings, creating visually impactful images.
Recommended equipment for natural light photography
To make the most of natural light during the golden hour, consider this equipment:
1. Tripod
A tripod is essential for stabilizing your camera, especially if you're working with long exposures or slow shutter speeds.
2. Filters
ND or polarizing filters can help you control light and enhance color saturation.
3. Wide aperture lens
A lens with a wide aperture (f/1.4, f/1.8) allows you to capture more light and create beautiful background blur effects.
4. Reflector or diffuser
These tools can help control light on your subject, softening harsh shadows or adding light where needed.
Conclusion
Natural light during the golden hour offers a unique opportunity to create memorable outdoor photographs. By understanding how this unique light works and using the appropriate techniques, you can transform ordinary scenes into extraordinary images.
Whether you're a professional or amateur photographer, mastering the art of photographing in natural light during the golden hour can significantly improve your work. The key is preparation, experimentation, and a thorough understanding of how light interacts with your subjects.
To further your creative journey and discover tools that will help you perfect your photos, explore our offerings at Pricing. AllCombiner provides the solutions you need to transform your shots into exceptional works of art, fully leveraging the potential of natural light and the golden hour.
Related articles